
Background
With the release of CentreStack version 9.5.5409.41172, the default database engine for the "all in one" deployment has switched to MySQL Community Edition as opposed to Microsoft SQL Server Express Edition. This article describes the process of migrating from an existing SQL Server Express database from an older version of CentreStack to a MySQL database after upgrading CentreStack. This migration is recommended for CentreStack deployments that may be affected by the limitations of SQL Server Express Edition. More information:
Procedure
- Start an elevated command prompt (as Administrator) and execute these commands:
This will backup the registry settings that configure CentreStack for the existing SQL Server Express Edition database.reg.exe export "HKLM\SOFTWARE\Gladinet\Enterprise" "%userprofile%\Documents\gcent64.reg"
reg.exe export "HKEY_LOCAL_MACHINE\SOFTWARE\WOW6432Node\Gladinet\Enterprise" "%userprofile%\Documents\gcent32.reg" - Backup the SQL Server Express Edition database. Read this article and download the PowerShell script to backup the database, unless you are familiar with backing up SQL Server: https://support.centrestack.com/hc/en-us/articles/360003603493-SQL-Server-Backup-Script
- If feasible, backup the entire CentreStack operating system (as in "make an image"). If this is not feasible, at least backup the entire "C:\Program Files (x86)\Gladinet Cloud Enterprise" directory
- Upgrade CentreStack to version 9.5.5409.41172 or later
- After the upgrade, sign into the CentreStack server console (or RDP) and use the browser to navigate to: http://localhost/management/migratedatabase.aspx
This screen will be displayed: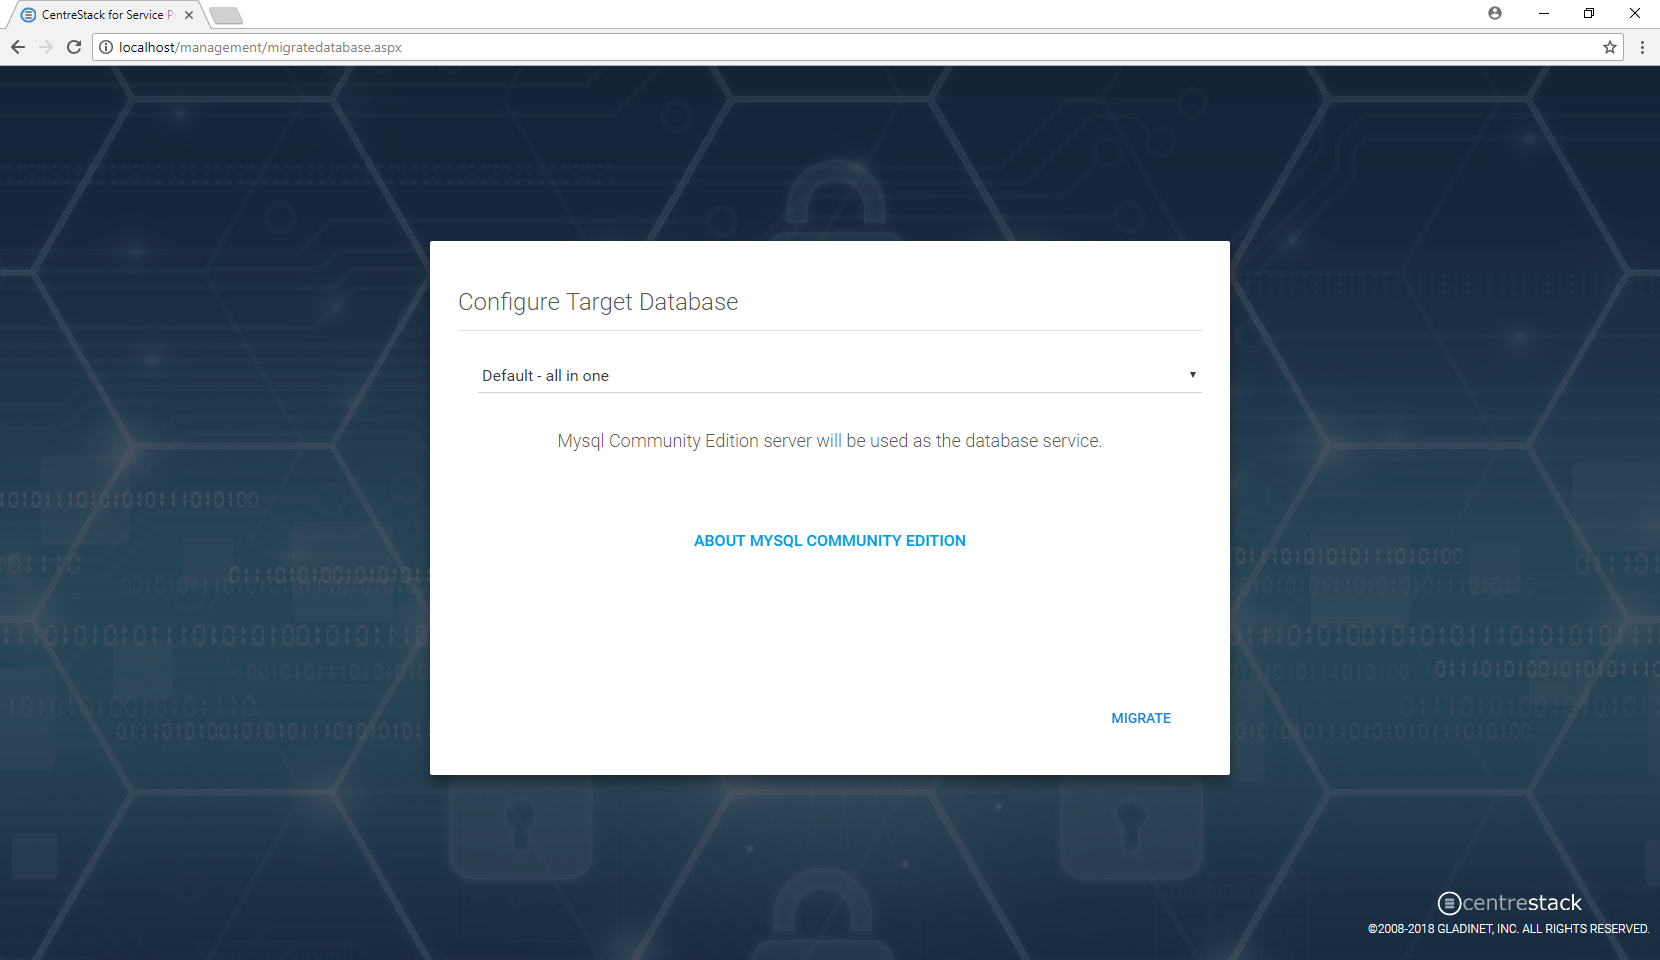
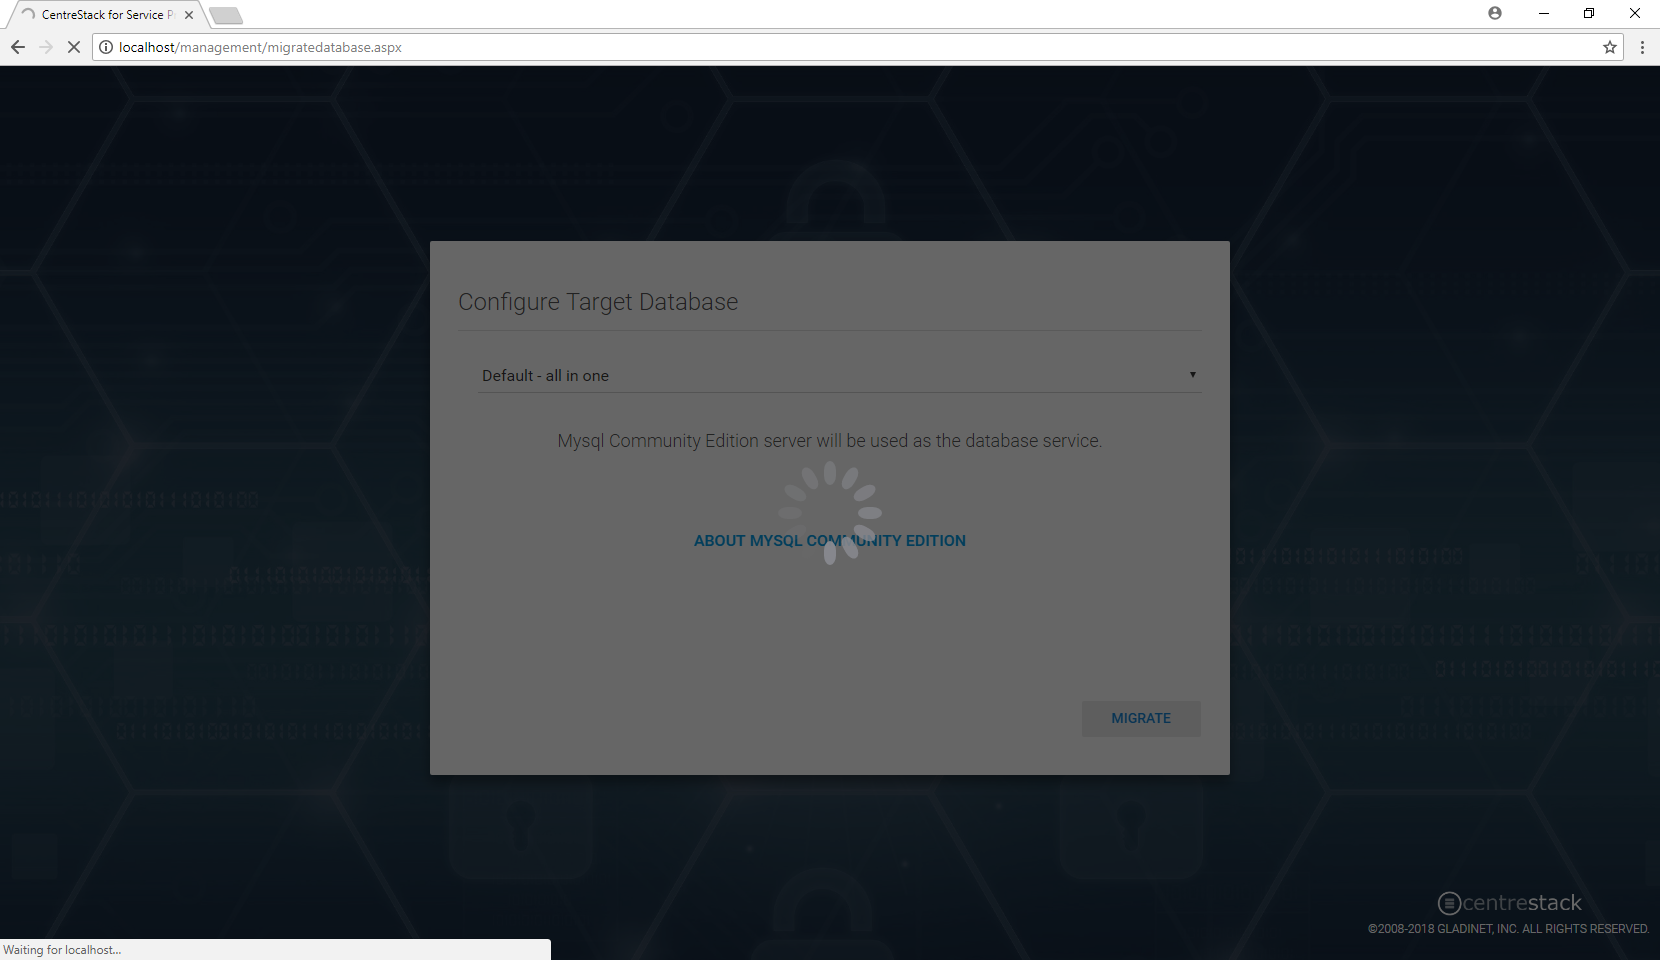
- Leave the drop down set to "Default - all in one" and click the MIGRATE button.
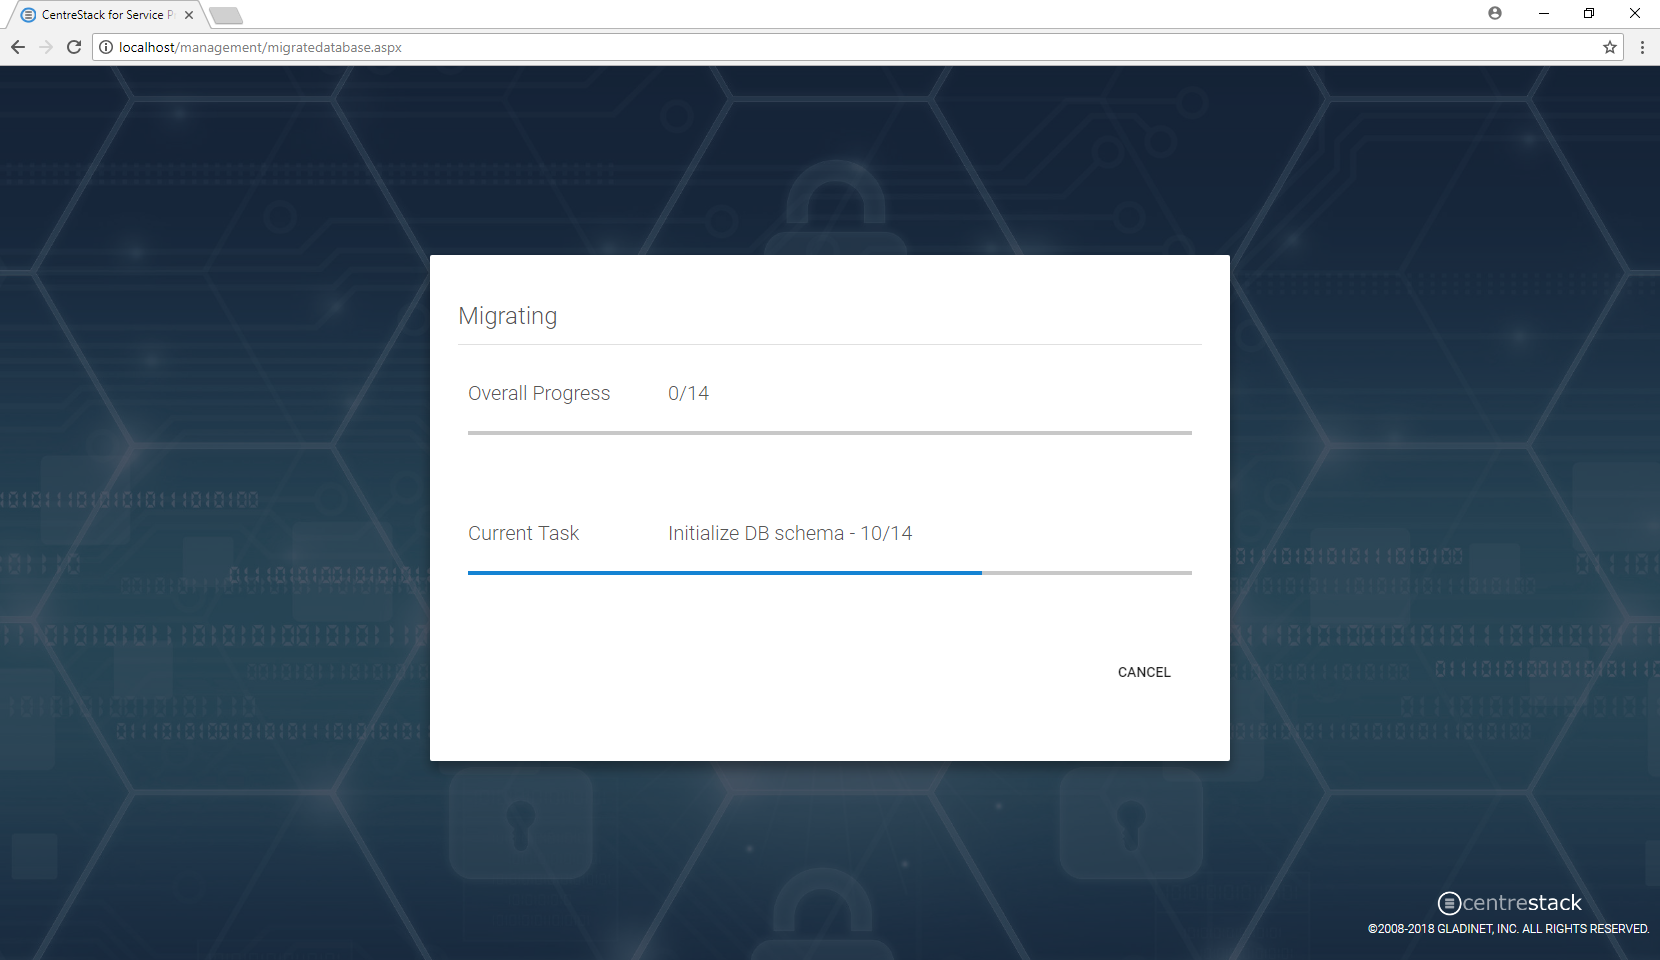
- The phases of the migration will be displayed:
- Installing the MySQL engine:
- Migrating the data from SQL Server Express to MySQL:
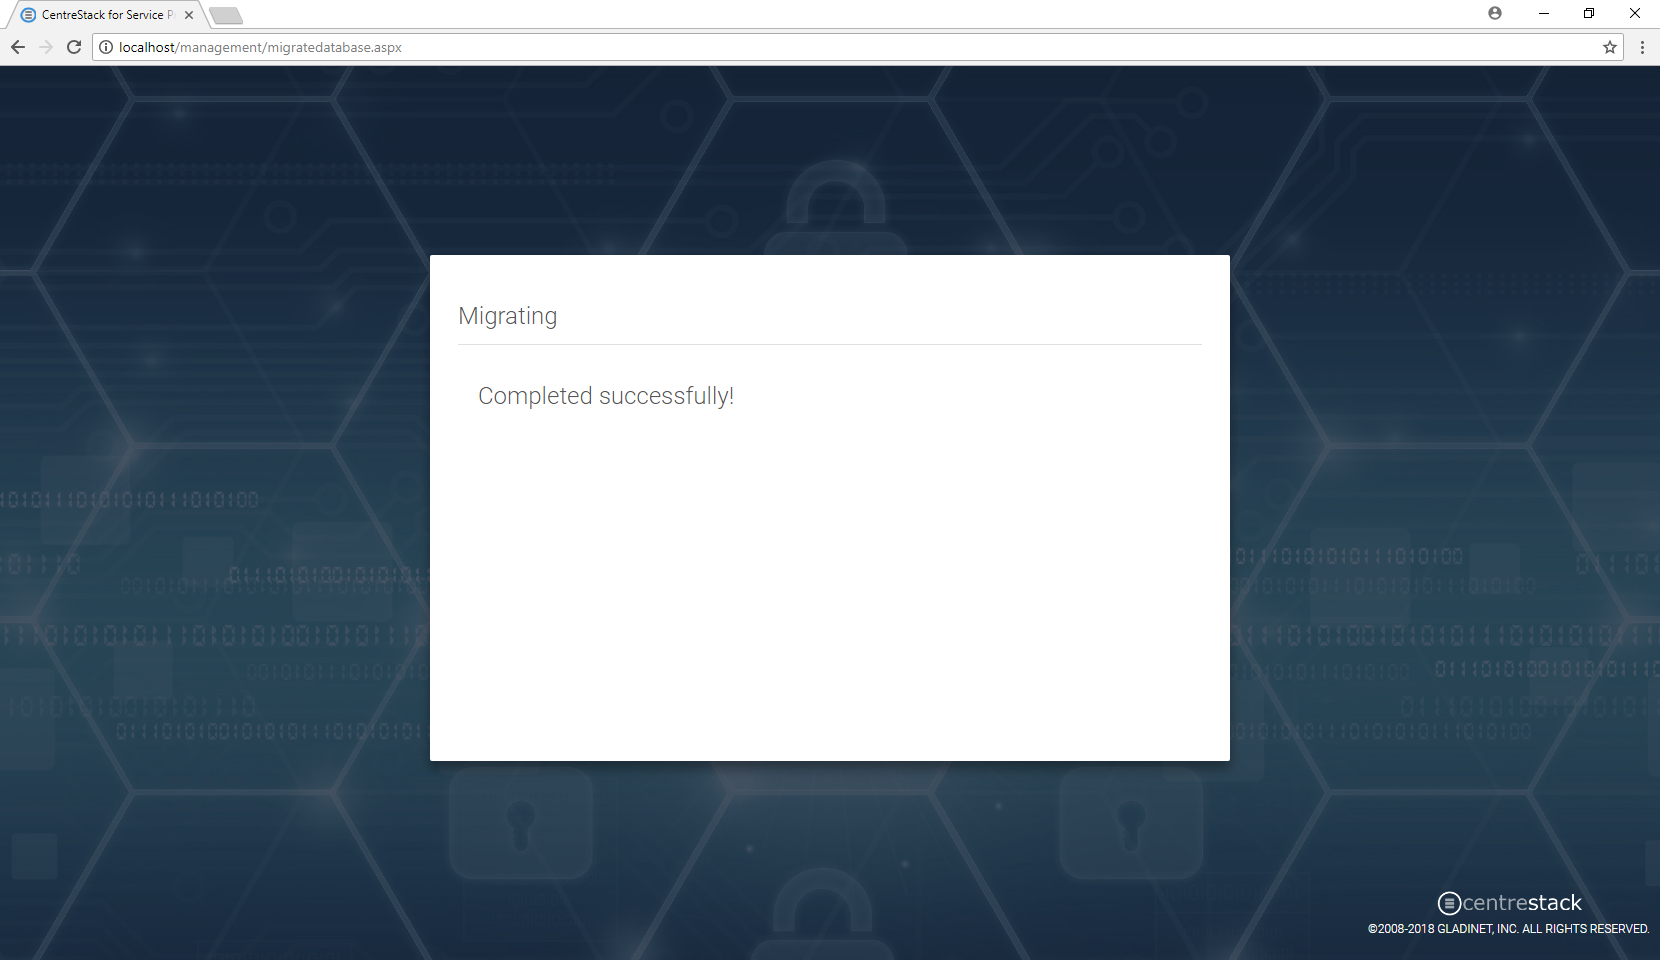
- Migration completion:
- Installing the MySQL engine:
- Close the browser.
- Start an elevated PowerShell session and verify that MySQL is running by executing (TCP 3306 is the port MySQL is listening on):
Get-Process | ? {$_.Id -eq (Get-NetTCPConnection -LocalPort 3306 | Select -First 1).OwningProcess} - The output of the previous command should should the ProcessName as mysqld, the name of the MySQL process. For example:
Handles NPM(K) PM(K) WS(K) CPU(s) Id SI ProcessName
------- ------ ----- ----- ------ -- -- -----------
660 23 360952 199220 60.38 3208 0 mysqld - Once you are confident that MySQL is running, execute these PowerShell commands to stop the SQL Server service and configure it to be disabled at boot time:
Stop-Service 'MSSQL$CENTRESTACK'
Set-Service 'MSSQL$CENTRESTACK' -StartupType Disabled - Navigate to: http://localhost/management/clustermgr.aspx
- If the CentreStack web site loads, it is a very good indication that the migration succeeded and MySQL is working correctly. You could use the Reports section to verify that old data (such as the Audit records) can be retrieved.
- The registry keys exported in step 1 will contain the new REG_SZ values DBConn and DefaultConn that contain the MySQL connection string in encrypted format.
- The C:\CSDBRoot will contain the MySQL database configuration and files. "C:\CSDBRoot\conf\initfile" contains the root user's password to access the MySQL database. The password is generated randomly but you must protect this file.
- CentreStack does not install the MySQL Workbench (https://www.mysql.com/products/workbench/). The current recommendation is to install MySQL Workbench in order to backup the database with mysqldump.exe (which is included in the MySQL Workbench deployment).
Comments
2 comments
Apartment painting services dubai all my googling outputs brought to me to article like yours where you described how to change the defualt save location setting to another specifc location, but i have not a specificic location in mind now. I just want word opens or when I brows for files, takes me to the most recent folder I used my very last time, can you help me with this?
Facebook all my googling outputs brought to me to article like yours where you described how to change the defualt save location setting to another specifc location, but i have not a specificic location in mind now. I just want word opens or when I brows for files, takes me to the most recent folder I used my very last time, can you help me with this?
Please sign in to leave a comment.