
CentreStack is comprised of several Internet Information Services (IIS) web applications that must work in harmony. Each web application runs in a separate application pool, and all applications must communicate with each other locally through hard-coded ports. CentreStack and its internal WCF (Windows Communication Foundation) components endpoints need ports 80, 443, 88, 8080, 8081, and 8732 exclusively. This means that if these ports are being used by other applications on the same server, the CentreStack installer or upgrade package will fail.
For this reason, we recommend that our users install CentreStack on a dedicated server with a clean installation of Windows OS (Server 2012 R2 or later). Installations on non-clean servers are not supported, but you may refer to this article to "try" to make it work if you don't have other alternatives. In such cases, you will have to make a few manual adjustments in order to prevent conflicts and to ensure that the CentreStack installation can complete without errors.
The first adjustment is that if you already have an application in IIS named "Default Web Site," CentreStack will likely break that existing application (as well as itself) when it replaces files in the same directory with its own default.aspx, web.config, etc. Therefore, to protect your existing applications against overwrites, please ensure that none of your websites in IIS are named "Default Web Site" prior to running the CentreStack installer.
The second adjustment is that no other web application in IIS may use ports 80, 88, 8080, 8081, 8732. Port 443 is the ubiquitous SSL port, and it can be shared with multiple web applications as long as you add a valid certificate for each site and enable the "Require Server Name Indication" checkbox under the Site's Binding dialog box. The name "localhost" is also necessary for CentreStack's internal components communications, so if your current web applications depend on the name "localhost," you will have to change those applications to use a local IP instead of it. If this is not possible, then it will not be possible to install CentreStack on your server.
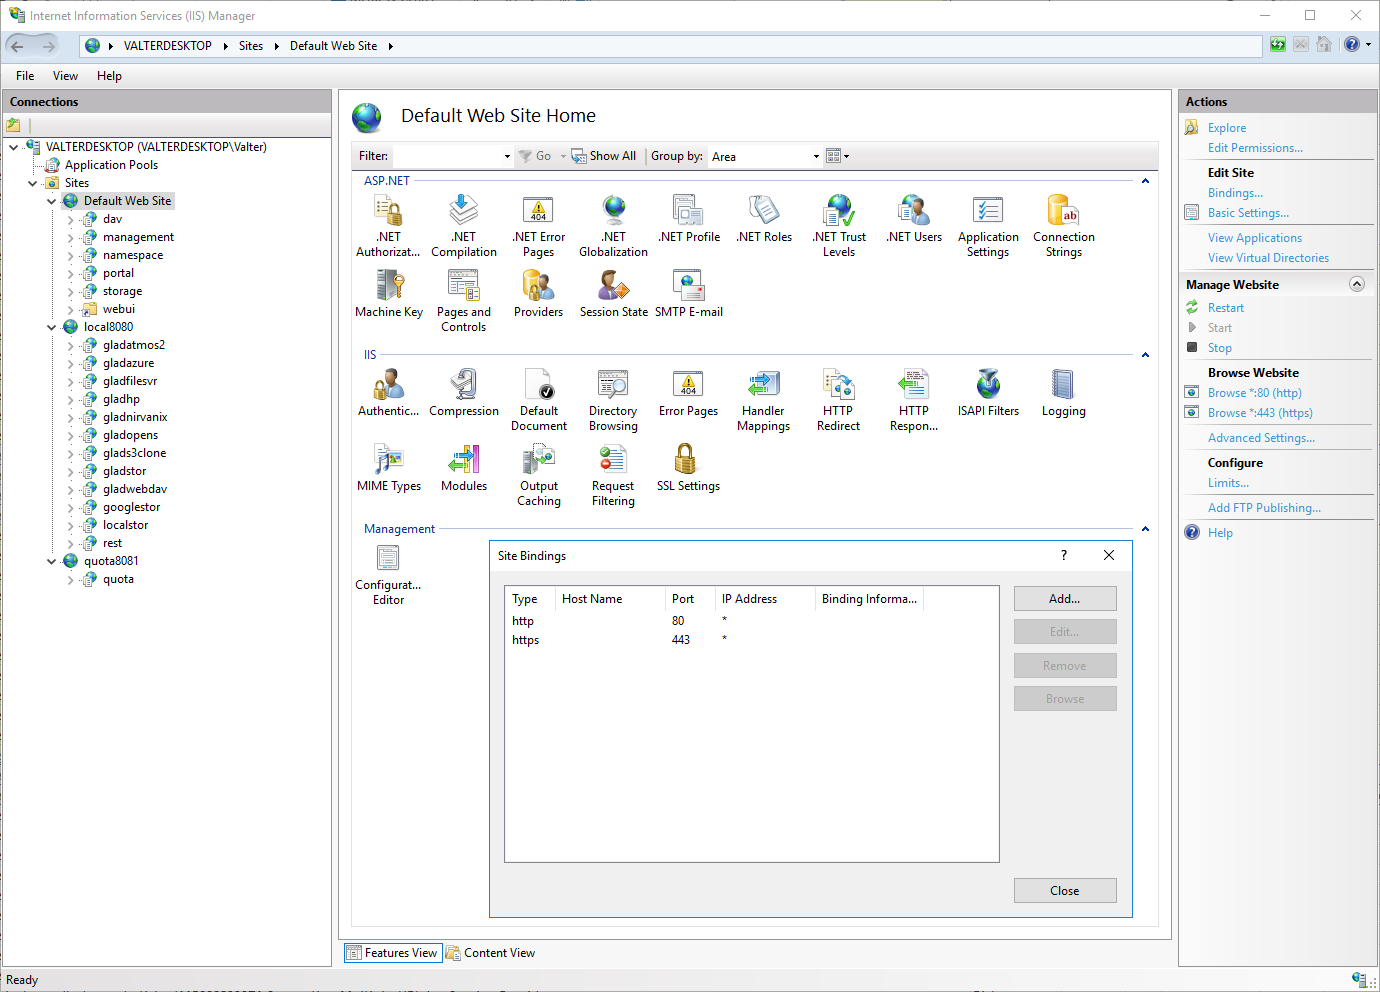
If you already have an old installation of CentreStack on the server, but want to install CentreStack from scratch because the installer keeps failing, you should first uninstall CentreStack from the Windows Control Panel, and then manually delete the following sites and their corresponding children from IIS:
- Default Web Site,
- local8080,
- quota8081
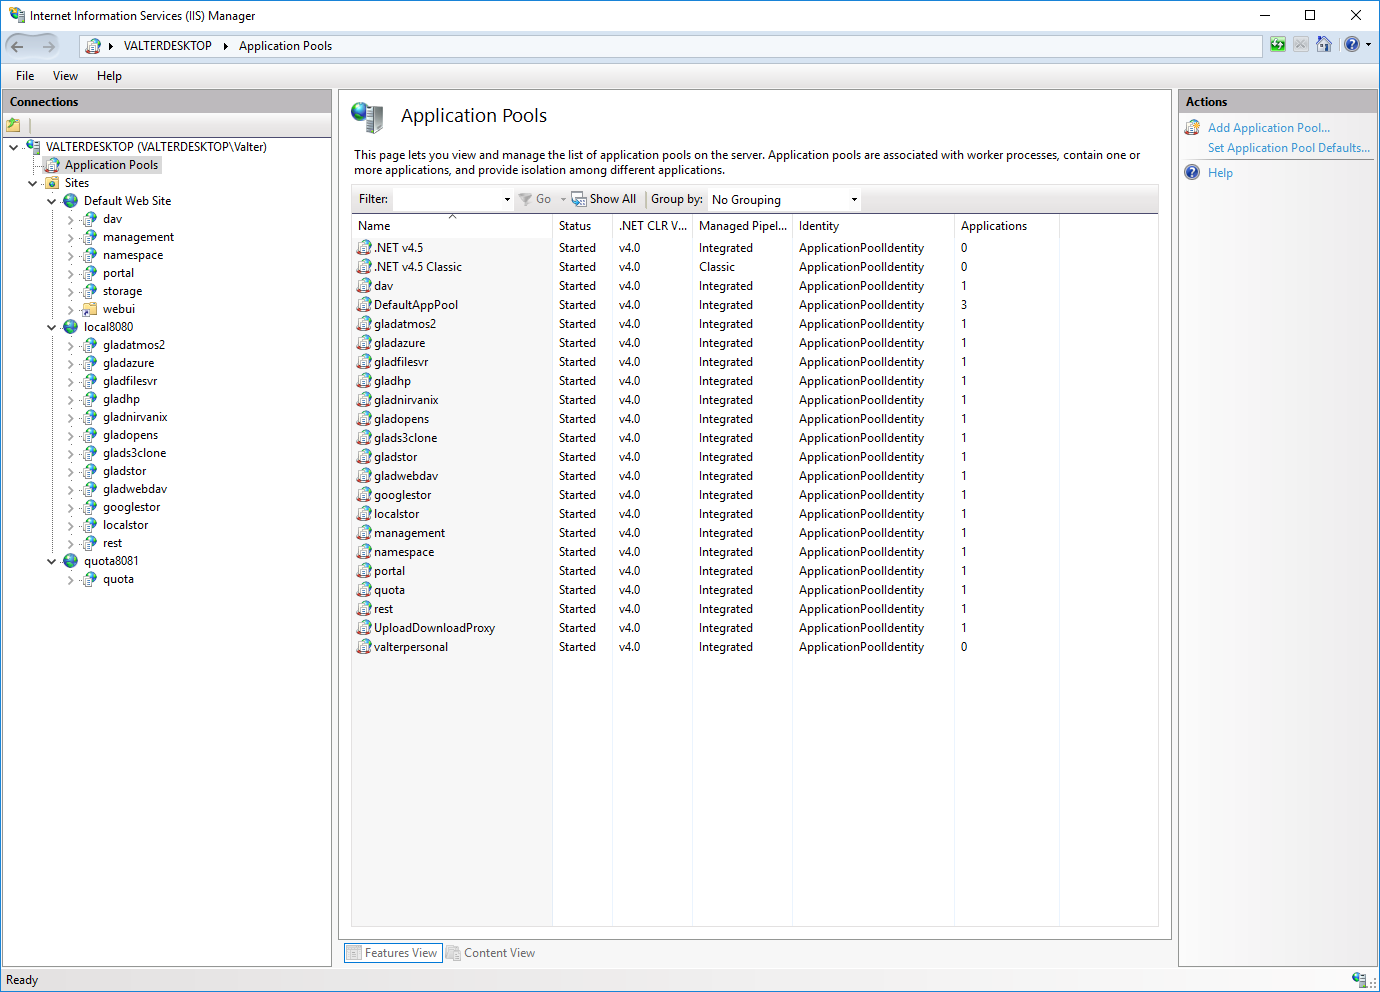
Next, you should delete the above site's corresponding application pools:
- dav,
- DefaultAppPool,
- googlestor,
- localstor,
- management,
- namespace,
- portal,
- quota,
- rest,
- UploadDownloadProxy,
- and every other application pools whose names start with "glad," such as gladatmos2, gladazure, gladfilesvr, and so on.
Another issue that you may come across is that some existing applications on the server might be using port 80 during CentreStack's installation/upgrade process. You will know if this is an issue if the installer complains that IIS is not ready and when you manually try to "start" any of the CentreStack's sites, you receive the following Windows Exception:
The process cannot access the file because it is being used by another process. (Exception from HRESULT: 0x080070020)
To get around this error, you will need to find out what programs are using the CentreStack's ports, and then terminate those processes (at least while the CentreStack installation is running). Start with port 80, which is the most likely to be used by other programs and then proceed to test other ports until you can finish the installation process without errors. To find out what is using a certain port, open a DOS command prompt and type:
netstat -aon | find ":80"
(where 80 is the port that you are querying)
The output will include an integer PID (Process ID) on the last column. Once you know the PID, open a Windows Task Manager (Windows Key + R, then taskmgr.msc) window and terminate the appropriate process from the Details tab. Then, retry the CentreStack installation/upgrade.
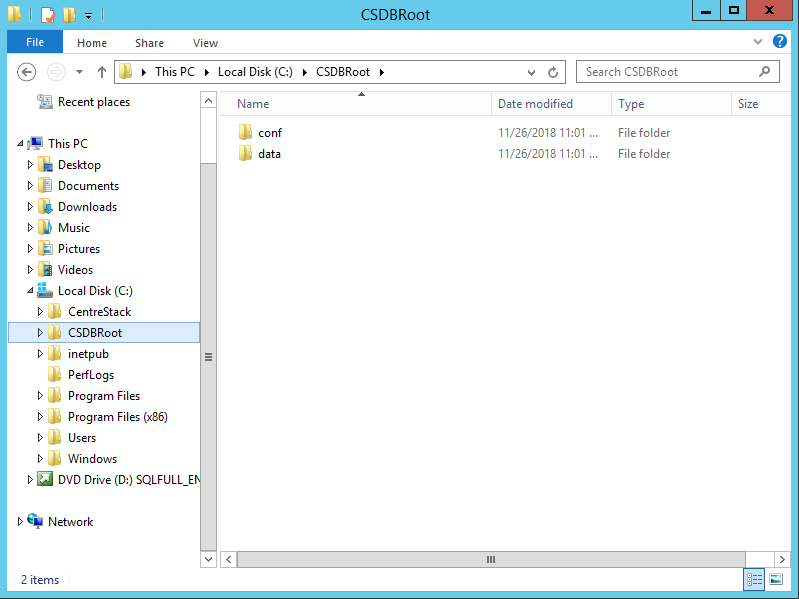
As of build 9.5.5409.41172, CentreStack's all-in-one installation default is to use MySQL as the database. If you've uninstalled an all-in-one CentreStack instance from the Windows Control Panel, the MySQL database will be left in a folder called "C:\CSDBRoot". CentreStack connects to this database through localhost on port 3306. If you are reinstalling from scratch, you can simply rename the CSDBRoot folder to something else prior to the new installation. If you wish to point a new installation to an old database, you can point CentreStack to the "csmain" database on "localhost" with username "root". The password is located in a text file called C:\CSDBRoot\conf\initfile. You can use this password to connect and manage the database with MySQL Workbench.
If you get an error that says "Failed: error code 101" during the installation, it is usually due to the installer not having permissions to perform a certain task (usually at the "initialize database" step). Completely uninstall the MS SQL entries from the Windows Control Panel and reboot the computer prior to running the CentreStack installer again. When you uninstall the SQL Server with the "Remove SQL Server" utility, make sure to remove the CentreStack database from under the Removal Rules. In addition, please make sure to rename the file called "user.mdf" in the SQL installation directory, which is usually like "C:\Program Files\Microsoft SQL Server\MSSQL11.CENTRESTACK\MSSQL\DATA\user.mdf". This is the default CentreStack database file which may have been left over from a previous installation.
After that, try to run the installer again from scratch (do not simply click on the retry button). Right-click on the installer file (installation GUI tool) and make sure that it is not marked as "blocked" for being an internet download. If it is blocked, unblock it and then run the installer as an administrator.
If the installer appears to be frozen, check the Windows Task Manager. Make sure that it is not due to not having enough resources allocated to the server. You can see the CentreStack's minimum requirements on this page: https://www.centrestack.com/QuickStartGuide. Otherwise, leave it alone until it completes. Sometimes it is normal for it to appear like it is frozen for a few minutes.
When you run the installer on a server that previously had CentreStack version 9.5.5409.41172 or older, you might want to point your new installation to an existing MSSQL database. To do so, you will need to install SQL Management Studio (SSMS) to do a couple of things. First, sign in to the server name ([computer name]\CENTRESTACK) with Windows Authentication on SSMS. Use the local administrator credentials. Once you open the database, right-click on the server name in Object Explorer and choose Properties from the context menu. Under the Security page, enable "SQL Server and Windows Authentication mode." The second thing that you need to do is to open the Security folder and reset the password for the "sa" account. Under the Properties->Status page for the "sa" account, make sure you have selected Permission: "Grant" and Login: "Enabled." Now, restart your computer, and when you run the installer again, you should be able to proceed to the next step of the installation wizard using the "sa" credentials.
Finally, if you run the installer on a server that already has an instance of CentreStack, and the upgrade process finishes without any errors without installing anything, this is usually because there is another folder somewhere within the C:\Program Files (x86) folder that contains copies of the CentreStack folders/files. Some users will attempt to create backup folders of the CentreStack installation directory prior to an upgrade, but this will cause the installer to get confused and fail silently. To prevent this, simply create your backup folders somewhere outside of the Program Files folder and run the installer again.
If you actually get installation errors near the last steps of the wizard, simply make sure that there is no folder called "Gladinet Cloud Enterprise" or simply "build" in your C:\Program Files (x86)\. If you have such a folder, delete it and retry the installation.
Please report any other errors or installation problems to ticket@gladinet.com. If all else fails, we can assist you with fixing the installation folders manually, or via an alternate script.
Comments
0 comments
Article is closed for comments.