
Once you obtain a dump from the CentreStack server, you will need to extract the managed data from it. As part of this process, you will need to copy the SOS.dll to the WinDbg installation folder. WinDbg requires you to have exactly the same version of the SOS.dll as the version of the .Net CLR from the server where the dump was generated. But, since this process is quite complex, one viable option is to instruct WinDbg to automatically download the correct SOS.dll for the dump that you are trying to analyze.
In this article I will show you how to set up WinDbg correctly in order for you to be able to extract meaningful stack trace data from the managed processes of the CentreStack application: namespace, portal, management, and UploadDownloadProxy.
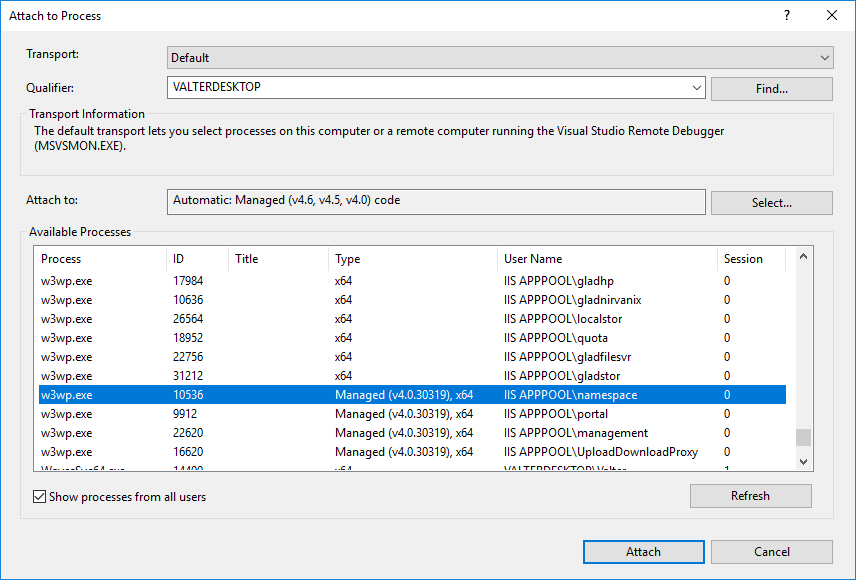
(Screenshot of Visual Studio, showing the process types)
Step 1
Download the PDB files for the CentreStack version in question. Please refer to the article on how to obtain the CentreStack version (especially if you don't see the version on the CentreStack login page). The CentreStack PDB repositories have a limited shelf-life, so if Download 1 doesn't do anything, please try Download 2. If neither of the downloads are accessible, please contact customer support.
Full CentreStack Build Number:
Create a folder called "C:\temp\symbols" on your hard drive. Then, unzip the downloaded PDB package to "C:\temp\"
Step 2
If you are debugging a .Net managed dump for the first time, WinDbg might complain if it does not find an SOS.dll in the WinDbg installation directory. So, make sure to copy your SOS.dll to the winDbg installation folder with the following command prompt. After this, when you perform step 5 below, the correct SOS.dll will be downloaded from the Microsoft servers. Adjust the script below for 32 bit servers if necessary.
XCOPY "C:\Windows\Microsoft.NET\Framework64\v4.0.30319\SOS.dll" "C:\Program Files (x86)\Windows Kits\10\Debuggers\x64" /Y
Step 3
Open WinDbg of the same bitness as CentreStack server where the dump was generated from. Almost all servers should be 64 bit nowadays, so start WinDbg (x64) from your Application shortcuts->Windows Kits.
Step 4
Go to File->Symbol File Path. Set the value to:
srv*C:\temp\symbols*https://msdl.microsoft.com/download/symbols;srv*C:\temp\symbols*http://referencesource.microsoft.com/symbols;C:\temp\pdbs6751\namespace\bin
In this example, the PDB package was extracted to C:\temp\pdbs6751. Replace this part with the actual path where you extracted your PDB files to. In addition, you will have to replace the "namespace" word with the user name of the w3wp.exe process where the dump came from (it can be namespace, portal, management, or UploadDownloadProxy). Notice that the actual PDB files are in the bin directory of the project folder, not on the root.
Step 5
In WinDbg, go to File->Open Crash Dump. Select the .dmp file.
Step 6
Type the following WinDbg commands in order, pressing the enter key after each one.
!sym noisy
.symfix+
.cordll -ve -u -l
.reload
.chain
~*e!ClrStack
!dumpheap -stat
Step 7
Copy the output to a new notepad document and send it to the CentreStack dev team.
Valid output should contain file names, line numbers (native code only), names of classes, and methods. Example:

Comments
0 comments
Article is closed for comments.